Last updated November 21, 2026
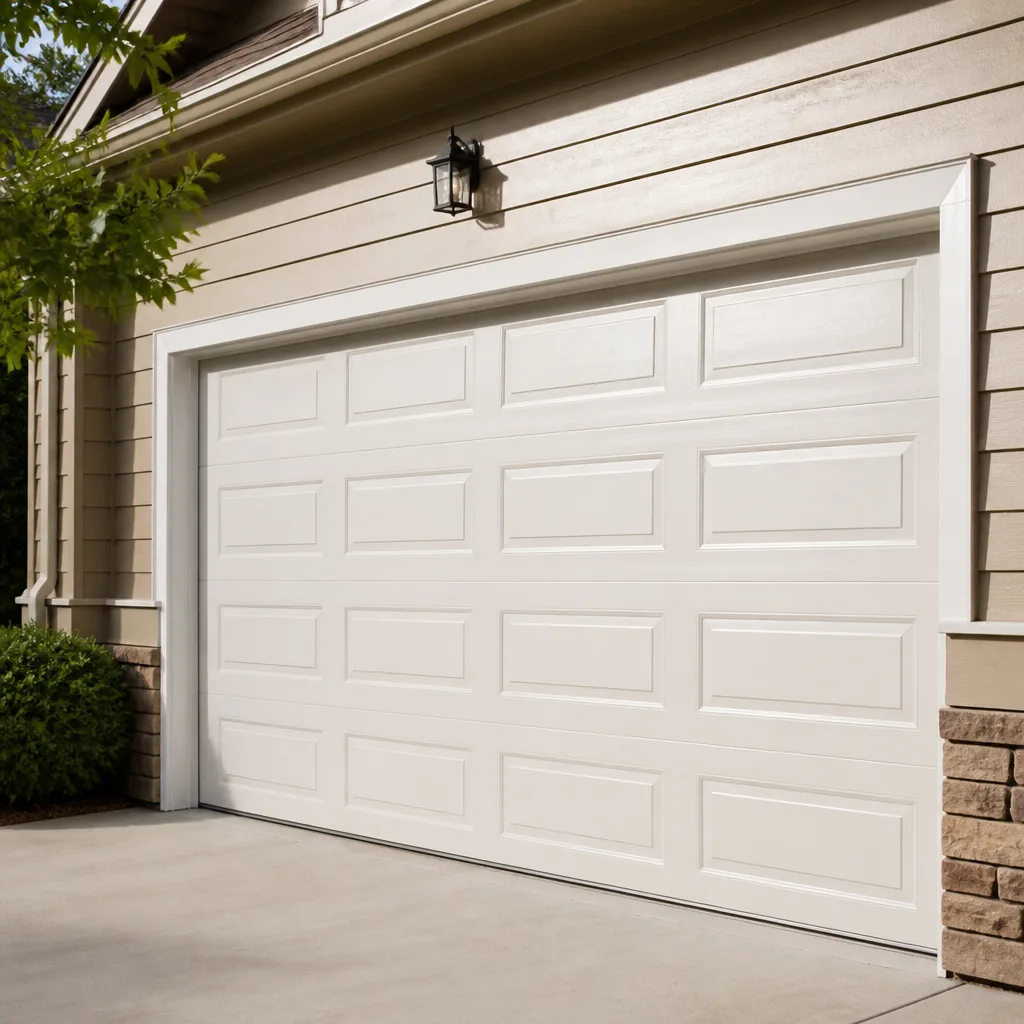 Raised-panel steel
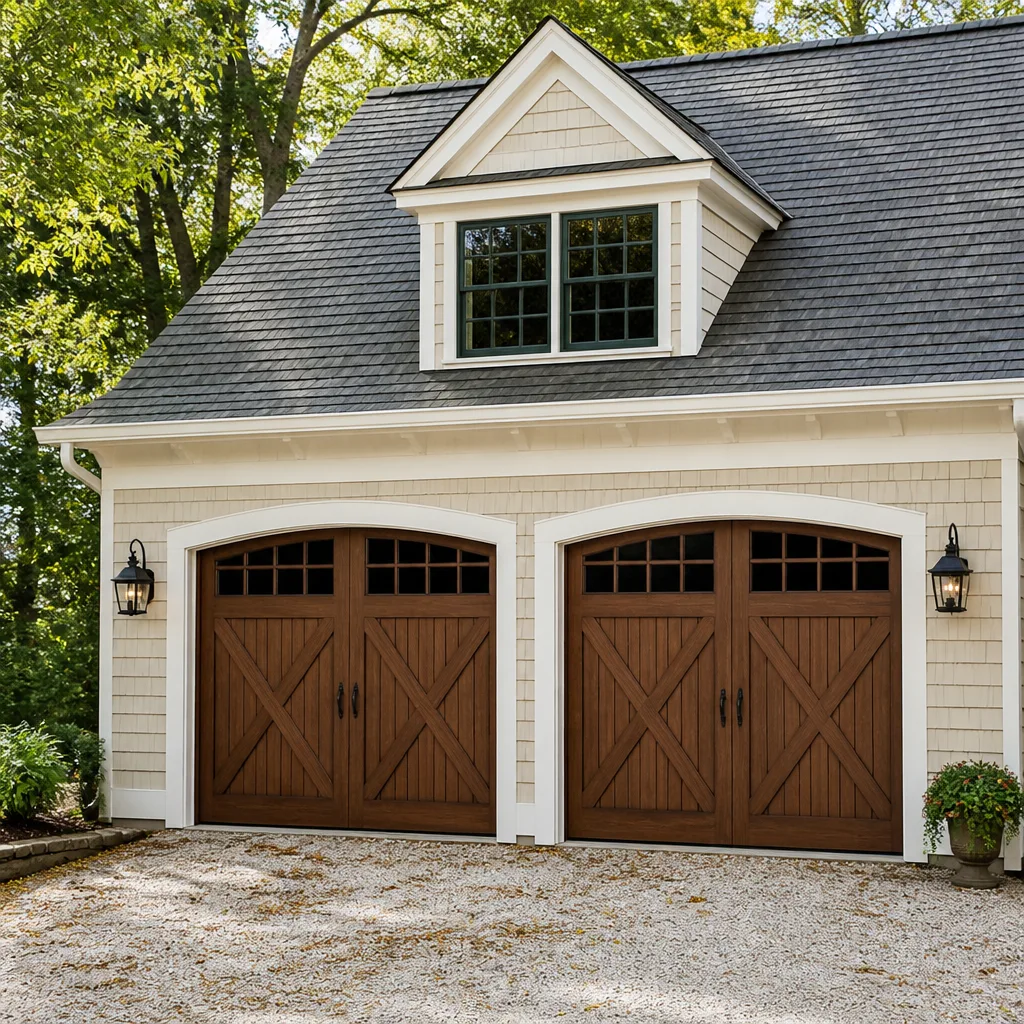 Carriage house
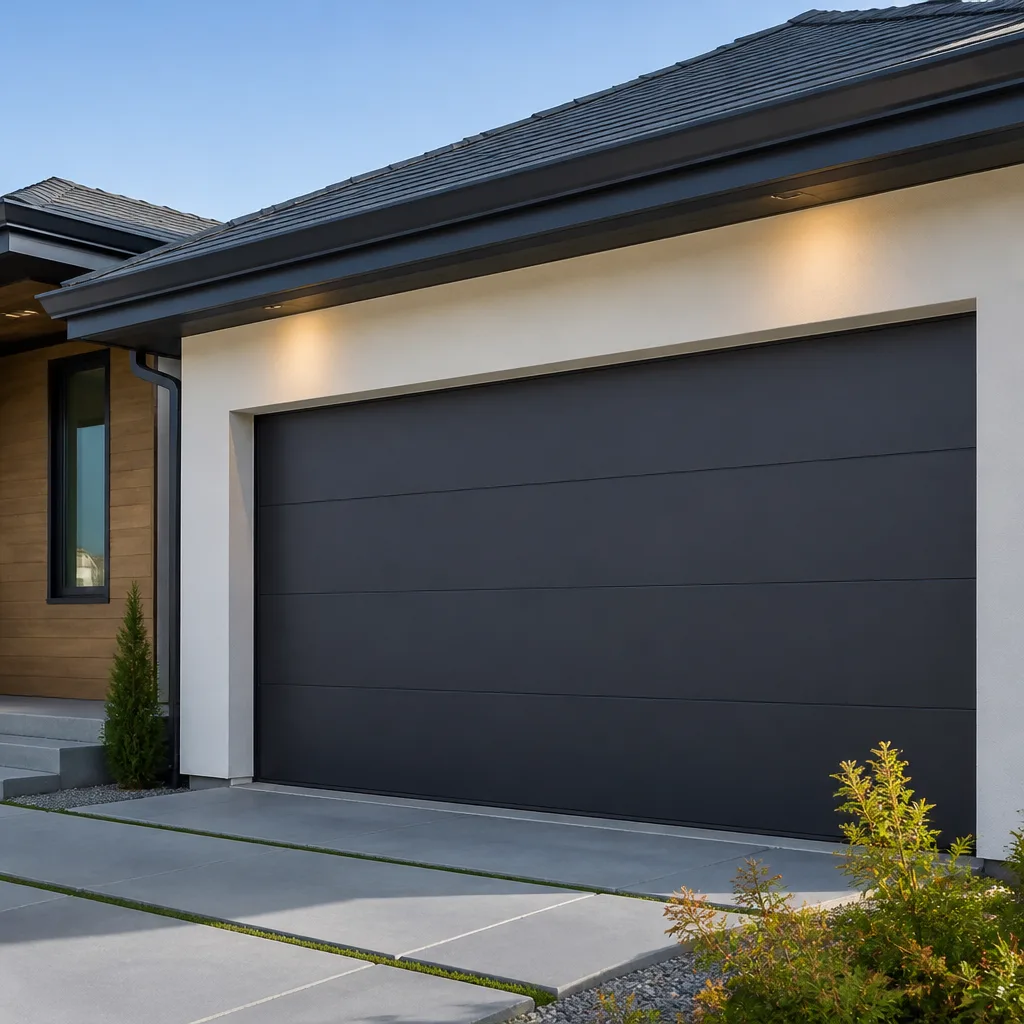 Modern flush
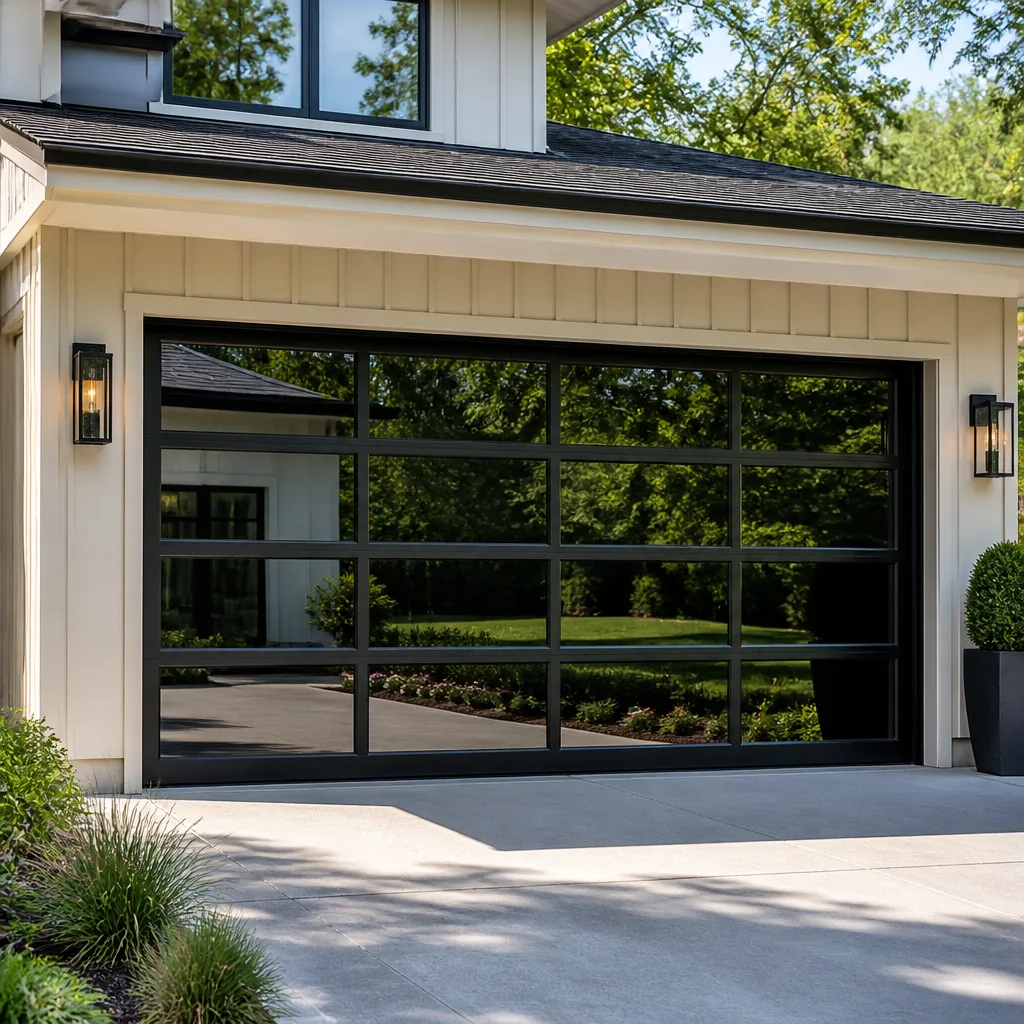 Full-view glass
 LiftMaster openers
 Chamberlain openers
Full 25-point door and opener safety check with every visit - springs, cables, rollers, tracks, and your LiftMaster or Chamberlain opener included
You get a price before we start. It does not change when the pro arrives.
Get your free estimateGarage Door Repair Maintenance Checklist for Norfolk Homeowners
Most maintenance checklists you’ll find online were written for a climate that isn’t yours. They assume dry air, mild summers, and a door that sits in a garage doing very little. Norfolk doesn’t cooperate with any of that. Our summers push heat and humidity into every hinge and roller, our winters leave a residue that quietly works on bare metal, and hurricane season puts a hard deadline on anything loose or unbalanced. Skipping one lubrication cycle here isn’t the same as skipping it in a dry climate – the grit that builds up grinds rollers down in weeks, not years. This guide gives you a month-by-month task list built around Norfolk’s actual weather calendar, plus a clear line between what you can safely handle and what needs a technician.
Styles & brands we work with
- Raised-panel steel
- Carriage house
- Modern flush
- Full-view glass
- LiftMaster openers
- Chamberlain openers
Quick Answer
A working maintenance routine for a Norfolk garage door means lubricating moving parts every season, testing the auto-reverse and photo-eye sensors monthly, inspecting seals and weatherstripping before summer humidity peaks, cleaning the bottom brackets and hinge knuckles for residue after winter, and having a technician check balance, spring tension, and cables once a year. Spring tension and cable drums are never a homeowner task – those go to a trained technician every time. Everything else on the list you can do yourself with a few basic supplies and an afternoon.
Table of Contents
- Why a Norfolk Garage Door Needs Its Own Checklist
- The Month-by-Month Maintenance Calendar for Norfolk
- Lubrication: What to Use, What to Avoid in Norfolk Humidity
- Testing Auto-Reverse and Photo-Eye Sensors (and the Heat Failure Nobody Warns You About)
- The Visual Rust Audit: Where to Look First
- DIY vs. Technician: Drawing the Line
- Brand Matters: Working on the System Already in Your Garage
- Pre-Season and Post-Season: Two Calls Worth Making
- Common Mistakes to Avoid
- When to Call a Professional
- Frequently Asked Questions
Why a Norfolk Garage Door Needs Its Own Checklist
A garage door in Cincinnati and a garage door in Norfolk wear differently. The parts are the same – torsion springs, nylon rollers, steel hinges, rubber bottom seals – but the stress they carry over a year is shaped by very different conditions. In Norfolk, the year splits into three demanding stretches: a humid summer that softens seals and degrades lubricant, a hurricane season that arrives every year without fail and tests every fastener and balance point, and a wet winter that leaves a residue on metal and a garage interior that stays damp longer than homeowners expect. Summer is the toughest of the three for moving parts.
That calendar changes the answer to the question every maintenance guide starts with: how often should a garage door be serviced? The generic answer online is “once a year.” For Norfolk, most doors do best with a light lubrication pass every season, a visual check once a month, and a professional balance and spring inspection once a year just before hurricane season. You don’t have to become a garage door technician to keep a Norfolk door in good shape. You just need to follow a schedule that reflects the weather here instead of a template from somewhere else.
Homes across Ghent, Larchmont, Colonial Place, and Ocean View all sit inside the same seasonal envelope, though the specific wear pattern on each door depends on factors like how much sun the garage faces, whether the door is north or south exposed, and how much the door is actually used. A door that opens and closes ten times a day accumulates wear far faster than one used once in the morning and once at night. Start by counting your daily cycles, then adjust the routine below to match.
What you’ll learn in this guide
- The exact month-by-month cadence Norfolk doors need, tied to local weather, not a generic schedule.
- Which lubricants work in humidity and why WD-40 is the wrong call.
- The photo-eye and auto-reverse failure pattern Norfolk heat produces, and how to test for it.
- The specific inspection points for rust on Norfolk doors: bottom brackets, spring shaft ends, hinge knuckles.
- The two tasks that always require a technician, no exceptions.
The Month-by-Month Maintenance Calendar for Norfolk
The best way to keep a garage door healthy in Norfolk is to spread the work across the year so no single month becomes a scramble. Here is the cadence we recommend, timed to Norfolk’s seasons.
- January – Post-holiday inspection. The door gets used heavily through the holidays. Walk the track and look for debris, check that the door sits level when closed, listen for new sounds.
- February – Winter residue cleanup. Wipe down the bottom brackets, hinge knuckles, and spring shaft ends with a dry cloth to remove any buildup from winter moisture. Inspect the bottom seal for cracks or hardening.
- March – Pre-season balance check. Disconnect the opener and lift the door by hand to about waist height. If it doesn’t stay put, the balance is off and it’s time for a professional spring and balance inspection before summer.
- April – Pre-hurricane season full service. The one annual professional check worth booking before June. A technician verifies spring tension, cable condition, roller wear, and every fastener. This is the appointment that pays for itself most in Norfolk.
- May – Seal and weatherstrip inspection. Before the summer humidity peaks, check every seal – bottom, sides, top. Any hardened or split seal lets humid air and water inside, and that accelerates everything on the rust-audit list.
- June through August – Monthly lubrication. The dominant maintenance task of the summer. Lubricate rollers, hinges, springs, and the bearing plates once a month through the humid stretch, and re-test the safety sensors every few weeks.
- September – Post-hurricane season inspection. Even if no storm came through your specific neighborhood, the summer heat and humidity have stressed the door. Re-check balance, re-test sensors, look for new rust.
- October – Fall tune-up. Clean and lubricate the moving parts, check that the door closes fully and seals against the floor, test the opener’s auto-reverse.
- November and December – Monthly visual checks. Confirm the door is level, listen for grinding or squeaking, and note anything that needs attention before the busy holiday stretch.
This calendar isn’t a rigid schedule. If your door runs ten times a day, compress the intervals and do a lubrication pass every six weeks in summer instead of monthly. If the door faces afternoon sun all day, check the seals more often. The point is a rhythm that keeps the small maintenance jobs ahead of the big repair jobs.
Lubrication: What to Use, What to Avoid in Norfolk Humidity
Lubrication is where most Norfolk garage doors quietly fail. The right lubricant, applied on schedule, will add years to the moving parts. The wrong lubricant, or a skipped cycle, will wreck them. In Norfolk’s humidity, “the right lubricant” is narrower than most homeowners expect.
Use these lubricants
- White lithium grease on metal-to-metal contact points like hinges and the spring coils. It stays put under heat, which matters when the garage hits 90 degrees in July and August.
- Silicone-based spray on rollers, the torsion spring, and the bearing plates. It repels moisture and doesn’t attract the dust and grit that turn into an abrasive paste.
- PTFE (Teflon) dry lubricant on nylon rollers and anywhere you want a clean, dry film that won’t hold humidity against the metal.
Avoid these
- WD-40 as a lubricant. This is the single most common mistake we see on Norfolk doors. WD-40 is a water displacer and light solvent, not a durable lubricant. It strips the existing grease, thins out the protective film, and leaves metal running dry. In high humidity, dry metal starts to rust fast. It has legitimate uses around the house – just not as a garage door lubricant.
- Motor oil, cooking oil, or general-purpose grease. These attract dust and grit, and once grit is in the rollers, they wear out quickly. In a Norfolk summer, dust plus heat plus the wrong lubricant equals an abrasive paste.
- Silicone spray on painted surfaces or hinges that need to keep a grip. Silicone is for the mechanical parts. Keep it off the door’s finish and off anything you need a firm grip on.
The 20-minute lubrication routine
- Close the door fully. Disconnect the opener if you can, so the door is at rest.
- Wipe each hinge, roller stem, and spring coil with a dry cloth to remove dust and old lubricant.
- Apply white lithium grease to hinge pivot points and both spring coils.
- Spray silicone or PTFE dry lubricant on each roller, the torsion spring, and the bearing plates at each end of the spring shaft.
- Run the door up and down three or four times to distribute the lubricant evenly.
- Wipe off any excess – pooled lubricant attracts grit and defeats the purpose.
In Norfolk’s heat and humidity, expect a lubrication pass to carry a door for four to six weeks through the summer. In spring and fall it’ll go longer. If you’re unsure whether your door needs attention now, most of the visible wear shows up at the rollers and hinges within a month of the last application.
Testing Auto-Reverse and Photo-Eye Sensors (and the Heat Failure Nobody Warns You About)
Safety sensors are the one part of a garage door that should be tested far more often than any other. A stuck door is an inconvenience; a door that closes on a child or a pet is a different category of problem. Two systems protect you: the photo-eye sensors mounted near the floor at each side of the opening, and the auto-reverse mechanism that triggers when the door meets resistance.
In Norfolk, there’s a specific failure pattern worth knowing. As summer heat builds, the metal brackets that hold the photo-eye sensors expand slightly, and the small plastic housing around the sensor lens does the same. That’s often enough to shift the alignment by a few degrees. When one eye’s beam drifts away from the other, the opener reads it as an obstruction and either refuses to close or reverses on its own. Homeowners often interpret this as a broken opener. Nine times out of ten, it’s thermal drift in the sensor alignment.
Testing the photo-eye sensors (do this monthly)
- Look at the small LED on each sensor. Most are solid when aligned and flashing when misaligned. Solid on both sides means the eyes are talking to each other.
- With the door open, pass a broom handle or a flat object between the two sensors. The door should refuse to close.
- Remove the obstruction and confirm the door closes normally.
- Wipe the sensor lenses with a dry cloth. Dust, spiderwebs, and condensation all interfere with the beam.
- If the door won’t close on its own after this, the sensors are misaligned. Loosen the mounting screws on the sensor that’s flashing and slide it gently until the LED goes solid, then tighten.
Testing auto-reverse
- Place a 2×4 board flat on the floor under the middle of the door.
- Close the door using the wall control or remote.
- When the door contacts the board, it should reverse to the fully open position. If it stops without reversing or keeps pushing down, the mechanism is failing and needs attention before you use the door again.
- Note that the opener’s force settings are adjustable. If the door is failing auto-reverse but everything else checks out, a technician can verify the opener’s limits and force settings.
If a sensor test fails repeatedly – especially in the height of summer – the fix is almost always alignment, cleaning, or a damaged sensor wire, not a new opener. Our garage door opener repair technicians see this exact pattern every July and August. If a Genie or Chamberlain system keeps flipping into an error state through the summer, we can test the sensors and the opener logic together instead of chasing the wrong part.
The Visual Rust Audit: Where to Look First
Rust rarely shows up on the big painted panels first. It starts in the small, hidden hard-to-reach components where moisture sits, and by the time it’s visible on the door face, it’s been working for a season. A visual rust audit twice a year – after winter and after summer – catches it while the fix is still a wire brush and a dab of touch-up paint.
The inspection order (start here, work outward)
- Bottom brackets on both sides of the door, where the bottom section meets the track. These sit closest to the floor and take the most splash and damp. Look for rust streaks running down from the bracket.
- Spring shaft ends, where the torsion shaft enters the bearing plates at each end. Moisture collects in these small recesses, and rust here can bind the shaft.
- Hinge knuckles – the small pivot points where each hinge folds. Run a finger along each one; a rough texture is early rust.
- Roller stems and housings. The stems are steel and they sit right where grit and moisture meet.
- Track edges, especially the lowest foot of the vertical track on each side, where runoff from a wet floor pools.
- Bottom seal retainers – the metal channel that holds the rubber seal. The seal itself can hide a rusty retainer behind it.
- Panel seams on steel doors. Water wicks into the seams and rusts from the inside, so you see orange staining before you see the metal itself.
What to do about minor rust
A small rust spot is manageable. Scrub it lightly with a fine abrasive pad or steel wool, wipe with a clean cloth, and apply a rust-inhibiting primer followed by a matching touch-up paint. Don’t sand aggressively on a painted panel – you’ll make it worse. If rust has reached a hinge knuckle or the bottom bracket, that component is usually cheap to replace and worth replacing rather than treating. Once rust reaches the spring shaft or the track, that’s a technician call.
Prevention in Norfolk
Three habits cut most rust before it starts. Keep the garage floor dry – if water is pooling near the door, the door seal or the garage floor slope needs attention. Wipe down the bottom brackets and hinge knuckles with a dry cloth after any stretch of wet weather. And apply a light silicone spray to the metal contact points during your monthly summer lubrication pass, which puts a physical barrier between the steel and the humidity. If the bottom sections are too far gone to treat, a partial panel replacement often solves it for far less than a new door – see our garage door repair service for details on panel-level fixes.
DIY vs. Technician: Drawing the Line
One of the most useful things you can do for your garage door is know which tasks are safe to handle yourself and which aren’t. In our experience, most garage door injuries happen when a homeowner tries to take on a task that looks mechanical but is actually a high-energy system under load. Here is the line.
Safe for a homeowner
- Lubrication of rollers, hinges, springs, and bearing plates.
- Cleaning photo-eye sensors and re-aligning them with a gentle nudge.
- Testing auto-reverse with a board under the door.
- Visually inspecting for rust, seal wear, and loose fasteners.
- Tightening visible bolts and screws on the hinges and the door’s outer hardware, using the correct tool and not over-torquing.
- Replacing the bottom seal on many doors – it slides in and out of the retainer channel.
- Changing opener remote batteries, reprogramming a remote, and following the opener manufacturer’s reset steps.
Always a technician
- Spring tension adjustment or spring replacement. Torsion springs, and the extension springs on older doors, store an enormous amount of energy. Loosening the wrong bolt or failing to properly wind down a torsion spring can cause serious injury. This is the single most dangerous part of the entire garage door system. Do not attempt it.
- Cable drums and cable replacement. The cables that lift the door are under the same tension as the springs and are equally dangerous if released incorrectly. A snapped cable under load can cause serious injury.
Anything beyond that list – track bending, opener logic failures, panel replacement, roller replacement on the bottom section, or any work that requires moving the door under load – is best handled by a trained technician. One of our garage door spring repair specialists handles this work every week, and it’s the repair we most frequently see homeowners attempt and regret.
Good habit: photograph before you touch
Before you start any of the DIY tasks above, take a photo of the door hardware on both sides and the opener head unit. If you need to call a technician later, you’ll be able to describe exactly what your door looked like before the issue. It’s a five-second step that saves time in every service call.
Brand Matters: Working on the System Already in Your Garage
Every garage door system has a character. The way a Chamberlain opener’s logic board reports an error is different from how a Genie does it. The bottom seal retainer on a Clopay door is built differently from the one on an Amarr. When a technician has to diagnose a problem, knowing the brand cuts hours off the guesswork, and it means they’re testing the right parts instead of a generic checklist that barely applies.
Our team is factory-familiar with the major brands that show up in most Norfolk garages – LiftMaster, Chamberlain, Genie, Clopay, Amarr, Wayne Dalton, Craftsman, and Raynor. That matters most when a repair doesn’t go by the book. A Chamberlain MyQ-enabled opener that reports “sensor blocked” while the sensors read normal to a homeowner often has a different root cause; a Genie opener that resets itself overnight often has a battery backup or a wall control issue. Working on the brand already in your garage means the diagnostic path is the manufacturer’s, not a guess.
Why this matters for maintenance, not just repair
Maintenance routines should be adjusted for the door brand too. Some Clopay and Amarr steel doors have finishes that respond differently to touch-up paint, so the rust treatment step is different. Chamberlain and LiftMaster openers have force settings that are adjusted differently from Craftsman or Genie units, so a technician checking auto-reverse on one isn’t looking in the same place they would on another. Even the recommended lubricant cycle can shift based on whether the manufacturer used nylon or steel rollers from the factory. A technician who knows the brand skips the generic steps and starts at the right place.
If you’re not sure what you have
Most owners manuals and spec stickers are on the opener’s head unit or inside the door’s top panel. Photograph the labels. When you call, you can tell us the model, and we’ll bring the right replacement parts and know exactly what to test. If you can’t find the label, the door will still give us plenty of clues – the roller style, the track profile, the spring configuration. Knowing exact brand and model saves a follow-up visit.
Pre-Season and Post-Season: Two Calls Worth Making
Most of the checklist above belongs to you. Two calls are worth making to a technician each year. Not because your door is failing, but because the parts under tension don’t announce when they’re weakening.
The pre-hurricane season check (April or May)
A technician verifies spring tension, spring wear, cable condition, roller health, hinge tightness, and that every anchor point holding the track to the framing is sound. They balance the door, run it through its full travel, check the opener’s force and limit settings, and confirm the auto-reverse triggers correctly. In Norfolk, this is the single most valuable professional maintenance visit on the calendar. It sets your door up for the humidity-heavy months and makes sure it’s in shape for hurricane season.
The post-season check (September or October)
After summer, most Norfolk doors have accumulated wear on the rollers and hinges, and the seals have been tested by the heat. A post-season check catches anything that’s slipped – rollers that need replacing, a bottom seal that’s hardening, a spring that’s lost some tension, or a hinge fastener that worked loose. It’s a shorter visit than the spring one, but it stops small summer damage from turning into a real repair by the following spring.
Why seasonal beats “when it breaks”
Repairs triggered by a failure cost more time and money than repairs triggered by a scheduled inspection. A slipping roller is a ten-minute fix. A broken torsion spring is an emergency repair, and in the middle of a Norfolk summer it’s a scheduled slot you have to find space in. The door that gets two technician visits a year on top of your own home maintenance runs reliably for years; the door that gets attention only when something snaps spends its life in a repair loop. When it’s time to plan for a full system replacement rather than a repair, our garage door installation team can walk through the options against your door’s condition.
Common Mistakes to Avoid
- Using WD-40 as a lubricant. It’s a water displacer, not a garage door grease. In Norfolk’s humidity, stripping the existing grease leaves metal running dry and rusting. Use white lithium, silicone, or PTFE dry lubricant instead.
- Skipping the summer lubrication cycle. Homeowners used to a dry climate can go a full year between cycles. In Norfolk, a summer without lubrication turns dust and humid air into an abrasive paste that eats rollers fast.
- Adjusting spring tension without training. Torsion springs and cable drums store enormous energy. This is where real garage door injuries happen. Every single time, spring tension and cable drums belong to a technician, no exceptions for “just a small adjustment.”
- Assuming a sensor failure is an opener failure. In Norfolk summer, thermal expansion shifts photo-eye alignment. Before you call for a new opener, clean the lenses and check that both LEDs are solid. A Chamberlain or Genie opener that’s flipping into error states is often fine – the sensors are the problem.
- Letting rust sneak up on the bottom brackets. Rust rarely starts on the big panels. It starts at the bottom brackets, hinge knuckles, and spring shaft ends, where moisture pools. A quick drill-in checklist twice a year catches it while it’s still a wire-brush fix.
- Ignoring a garage floor that stays wet. If water is pooling near the door, the door seal is compromised, and the rust-audit list is about to become real. Fix the source of the moisture, then re-check the bottom seal and weatherstripping.
- Waiting for a failure to schedule a service call. The two annual technician visits – before hurricane season and after – are maintenance visits, not repair visits. Skipping them means the first call you make is an emergency, not a tune-up.
When to Call a Professional
Some situations call for a technician, and it’s worth knowing them by heart. Call us when the door is out of balance and won’t stay at waist height, when the auto-reverse test fails, when a torsion spring has snapped (you’ll hear it), when a cable has visibly frayed or come off the drum, or when the door is stuck partially open or partially closed. Also call for any track that has visibly bent, any opener that keeps reporting an error after sensor cleaning and re-alignment, and any bottom section that has rusted through to the point of structural weakness. If the door won’t open and you’re locked in or out, our emergency service line is the right one to call; when your door won’t move, we will. Norfolk Garage Door Repair Co offers free estimates in Norfolk – call (877) 831-7441. The price is quoted and agreed before any work starts, and the local pro we connect you with is licensed and insured as their state requires.
Frequently Asked Questions
A Norfolk garage door needs a light lubrication pass every season, a visual inspection once a month, and a professional balance and spring check once a year just before hurricane season. In practice, that means two technician visits a year – one in April or May and one in September or October – plus the homeowner checklist above. The heat and humidity here push the moving parts harder than a dry climate, which is why the “once a year is fine” advice you’ll find online doesn’t hold in Norfolk. Call (877) 831-7441 for a free estimate on a seasonal service visit.
Yes, lubrication is one of the safest maintenance tasks a homeowner can handle, and it’s the highest-value thing on the list. Use white lithium grease on hinges and spring coils, and silicone spray or PTFE dry lubricant on rollers and bearing plates. Avoid WD-40 as a lubricant – it strips the existing grease and leaves metal unprotected in Norfolk humidity. Motor oil and cooking oil attract grit and cause more wear. A 20-minute lubrication pass once a month through the summer is enough for most doors. If you’d rather have a technician do a full service pass, call (877) 831-7441 – estimates are free.
Heat expansion shifts the alignment of the photo-eye sensor brackets and housings, so the beam drifts a degree or two and the opener reads it as an obstruction. This is a common Norfolk pattern every July and August. Clean the lenses, check that both sensor LEDs are solid, and gently re-align the misaligned sensor until the LED holds steady. If the problem repeats after that, the sensor wiring or the opener’s force settings are the next thing to check. Call (877) 831-7441 if the same sensor keeps flipping into a fault after re-alignment – a technician can test the opener logic alongside the sensors and pinpoint the cause.
Three signs point to worn or failing springs: the door won’t stay open when lifted by hand, the door feels unusually heavy when the opener runs it, or there’s a visible gap in a torsion spring coil. A snapped torsion spring usually announces itself with a sharp bang, and the door becomes unusable until it’s replaced. Spring replacement is always a technician task – never attempt it yourself. Our garage door spring repair service is a named specialty for exactly this reason. Call (877) 831-7441 for an exact quote – estimates are free.
Humidity plus a garage that stays damp is the usual cause, and it targets the same hard-to-see parts every time: the bottom brackets, hinge knuckles, spring shaft ends, and the metal retainer behind the bottom seal. Wipe those down with a dry cloth after any stretch of wet weather, apply a light silicone spray during your monthly lubrication pass, and treat any minor rust with a fine abrasive pad, rust-inhibiting primer, and touch-up paint. If the garage floor stays wet, fix the source of the moisture before treating the rust. Call (877) 831-7441 for a technician to inspect anything rusted through to the spring shaft or track.
Yes – the local pro we connect you with is licensed and insured as their state requires. That matters most on spring tension and cable work, which are the highest-risk tasks in the whole trade. Our technicians have up to 13 years of experience across the major garage door and opener brands. Call (877) 831-7441 for a free estimate, and we’ll quote the price before any work starts – the written estimate sets the price you pay.
No. We quote the price up front, based on what the job actually needs, and the written estimate sets the final price. If a technician finds something unexpected underneath – like a cable that needs replacing alongside a spring – they’ll show you the part and quote the addition before touching it, so you approve the number before the work starts. Call (877) 831-7441 for a free estimate on your Norfolk garage door.
The Bottom Line
A Norfolk garage door needs a maintenance cadence built around this climate, not a generic template. Two technician visits a year – one before hurricane season, one after summer – keep the high-tension parts healthy. Lubrication every season (and once a month through summer) keeps the moving parts alive in the humidity. Monthly photo-eye and auto-reverse testing is the safety line. A twice-a-year rust audit at the bottom brackets, hinge knuckles, and spring shaft ends catches corrosion before it becomes a real repair. Spring tension and cable drums are the two tasks that always go to a technician. Everything else on the list is a homeowner job. If you want one call to cover the whole checklist – maintenance, repair, and a plan for the door’s future – Norfolk Garage Door Repair Co is Norfolk Garage Door Repair Co. Call (877) 831-7441 for a free estimate.
Norfolk Garage Door Repair Co connects homeowners across Ghent, Larchmont, Colonial Place, Ocean View, and the wider city with independent local garage door professionals who work on the brands already in your garage – LiftMaster, Chamberlain, Genie, Clopay, Amarr, Wayne Dalton, Craftsman, and Raynor. When your door stops moving, we will. Spring repair, opener repair, new installation, and emergency service, all handled with a single call.
Written by the team at Norfolk Garage Door Repair Co.
See the difference
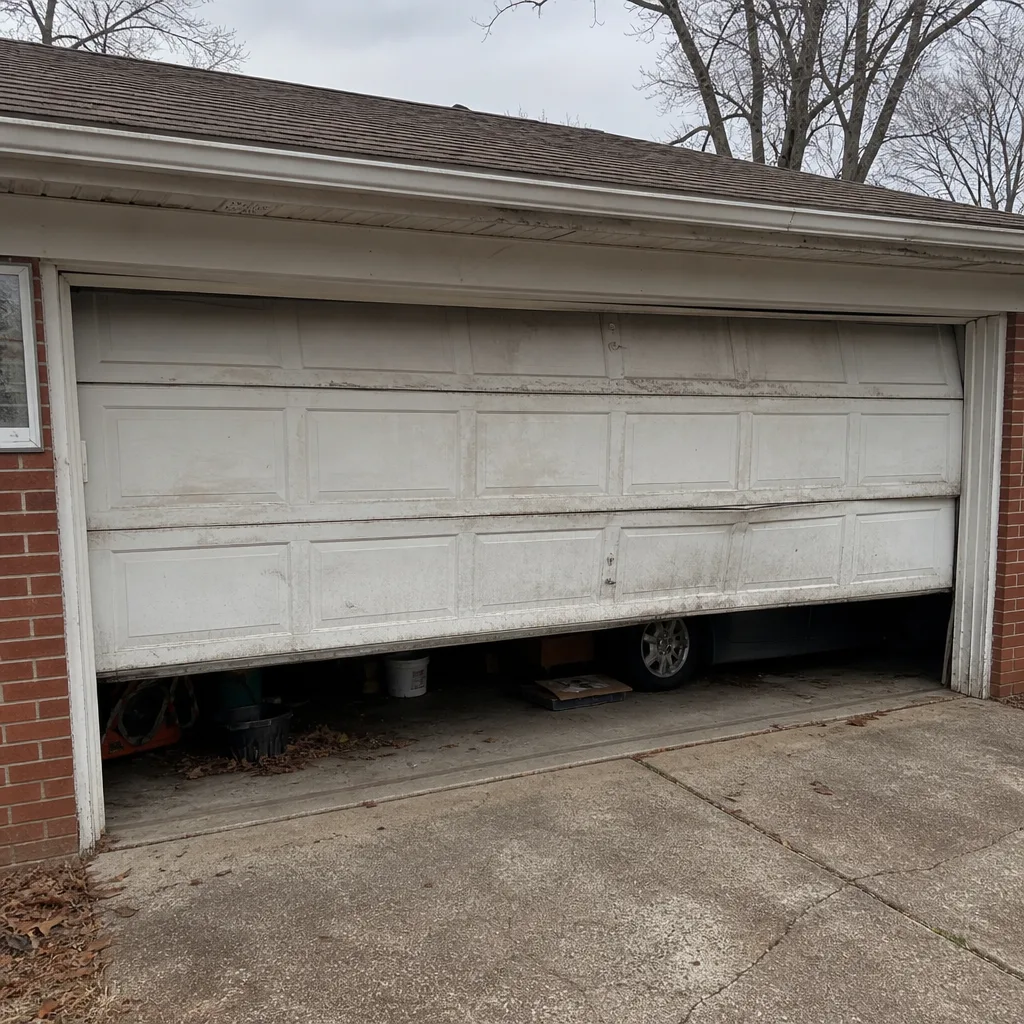 Before
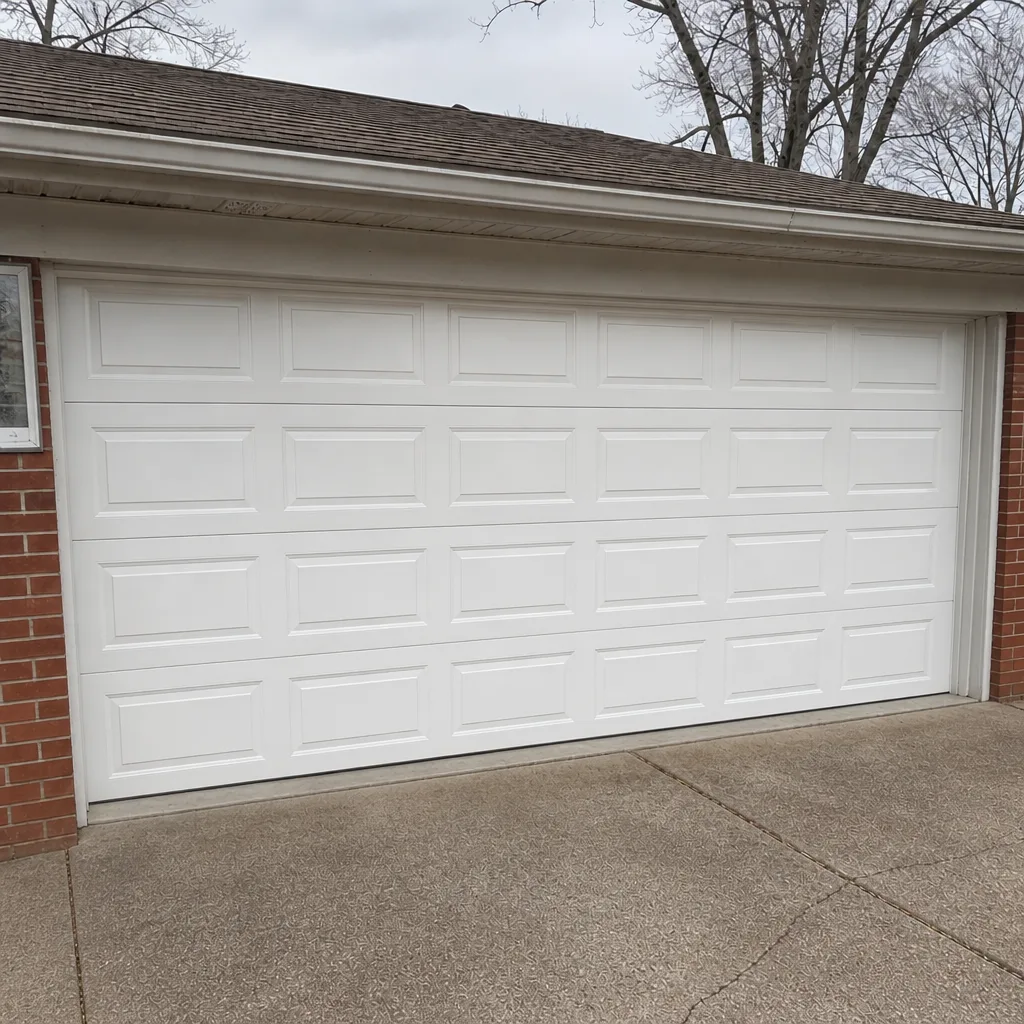 After
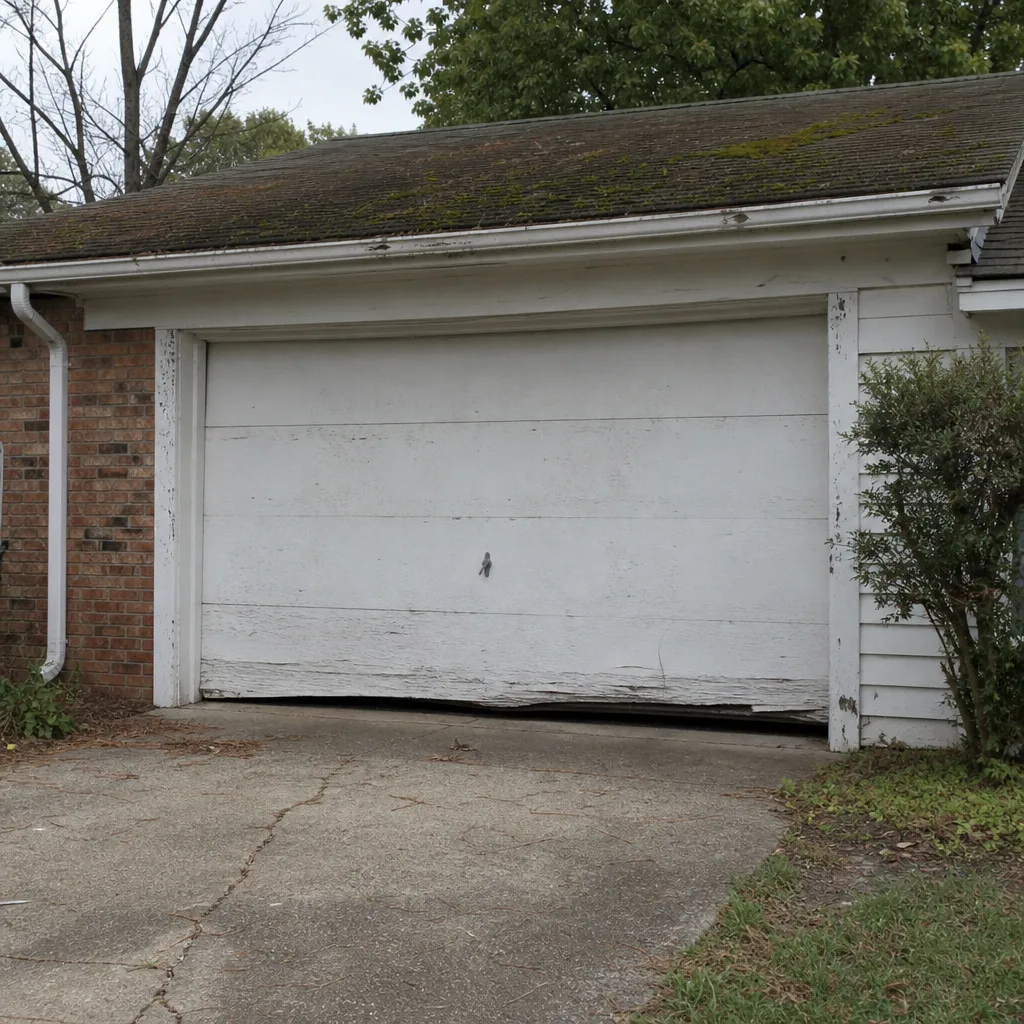 Before
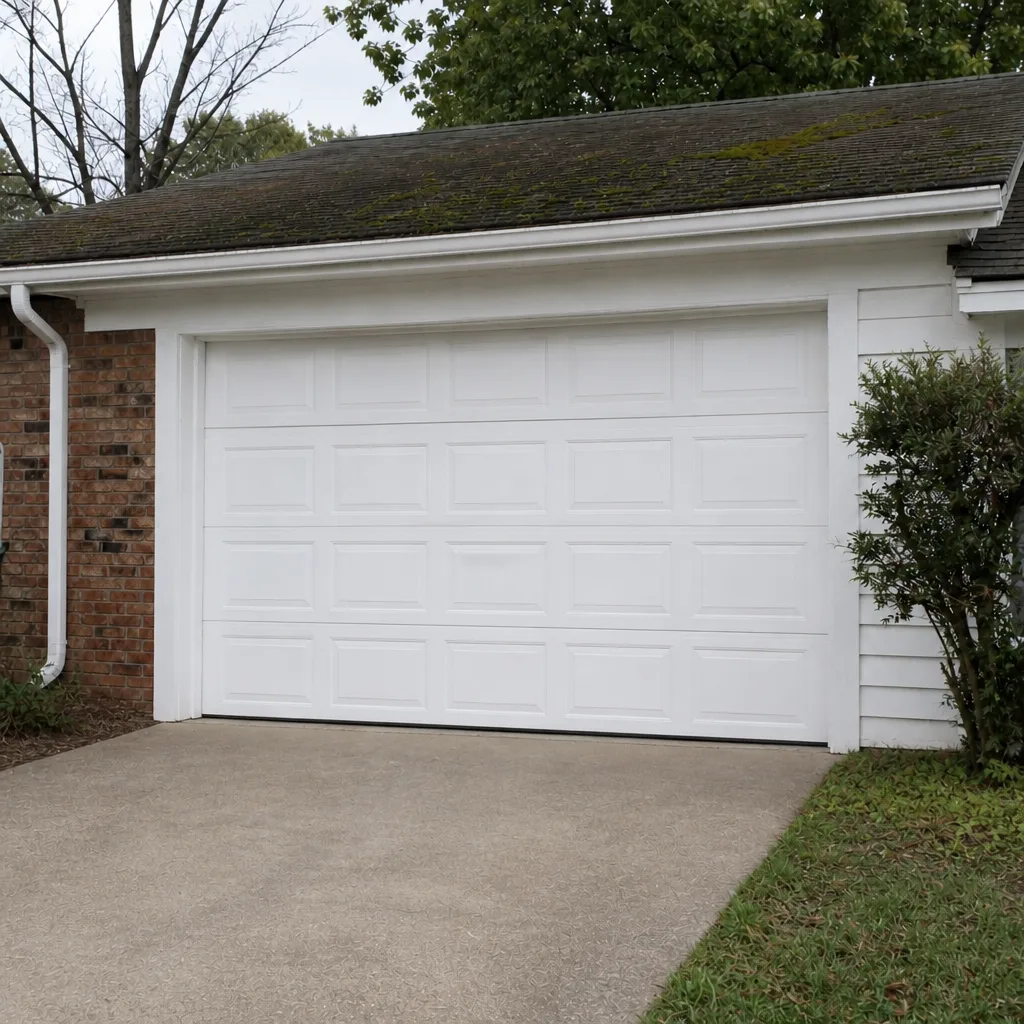 After
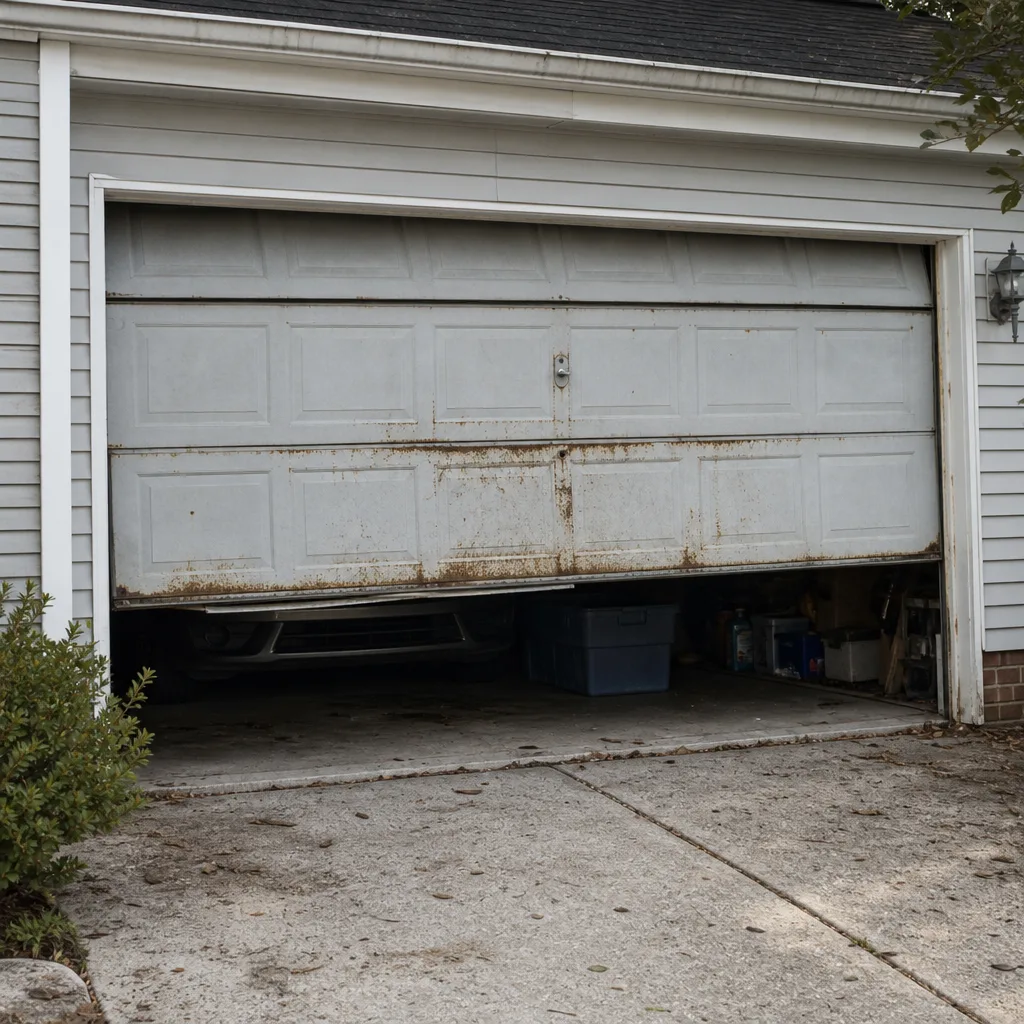 Before
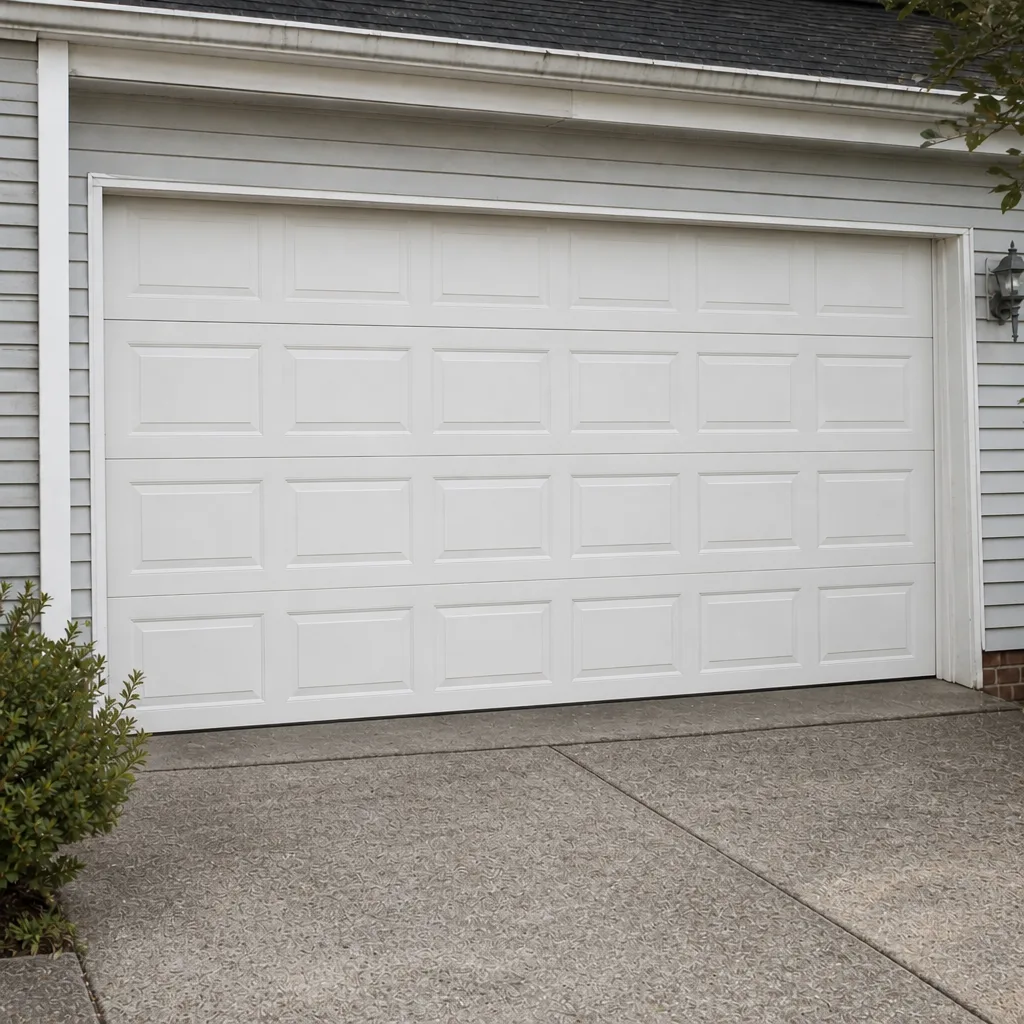 After